ソフトウェア研究室
Android Emulatorを使用したアプリとPCとのTCP/IPでの通信方法
本ページではAndroid Emulatorを使用したアプリとPCとのTCP/IPでの通信するためのサーバー側プログラムの作成方法を説明します。
以下の内容で説明します。
1. Eclipseを使用したサーバー側プログラムのプロジェクトの作成
2. コードの修正

TCP/IP サーバー側のサンプルプログラムを作成します。
Eclipseから「ファイル」->「新規」->「Android アプリケーション・プロジェクト」(※)を開きます。
(※)無い場合は、「ファイル」->「新規」->「プロジェクト」->「Android アプリケーション・プロジェクト」を選択します。
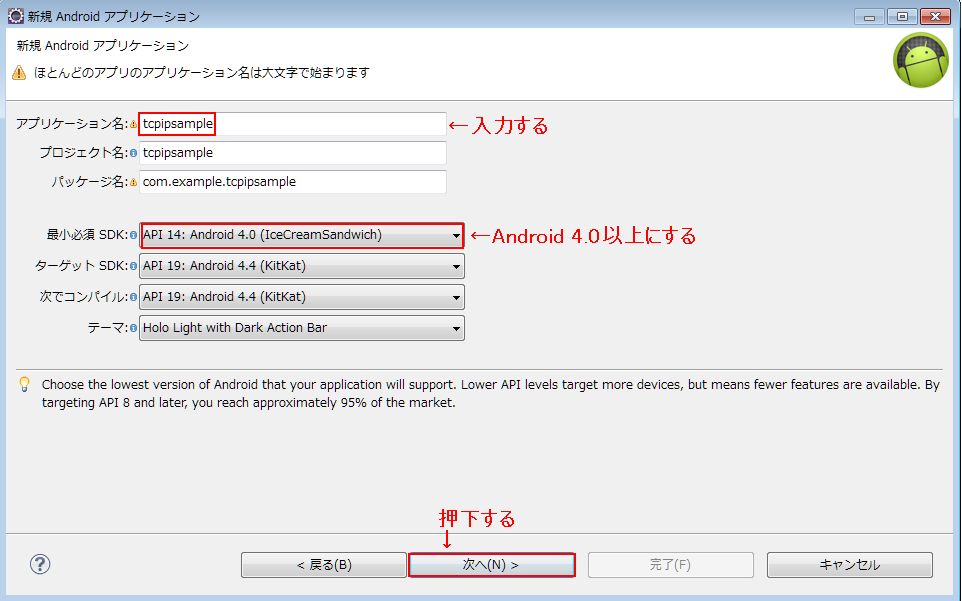
アプリケーション名を「tcpipsample」と入力する。(任意です)
最小必須SDKを4.0以上を選択する。
入力が完了したら「次へ」を押下する。
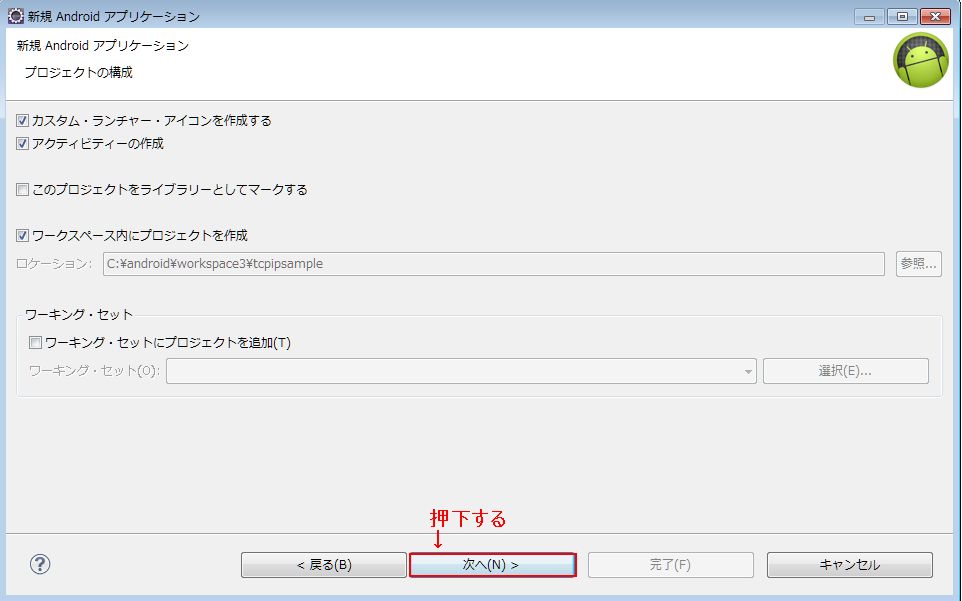
何も変更することなく「次へ」を押下する。
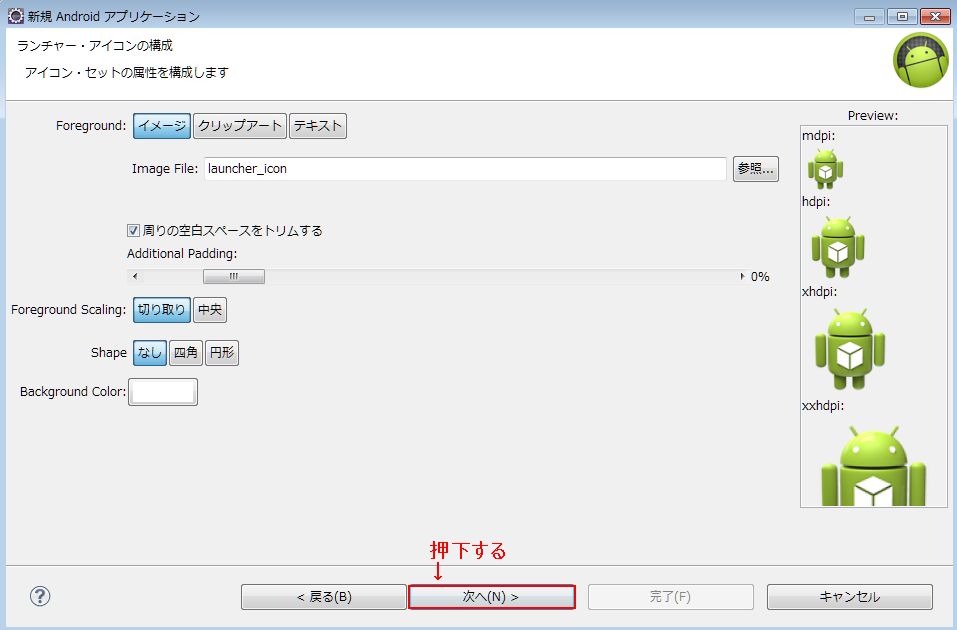
何も変更することなく「次へ」を押下する。
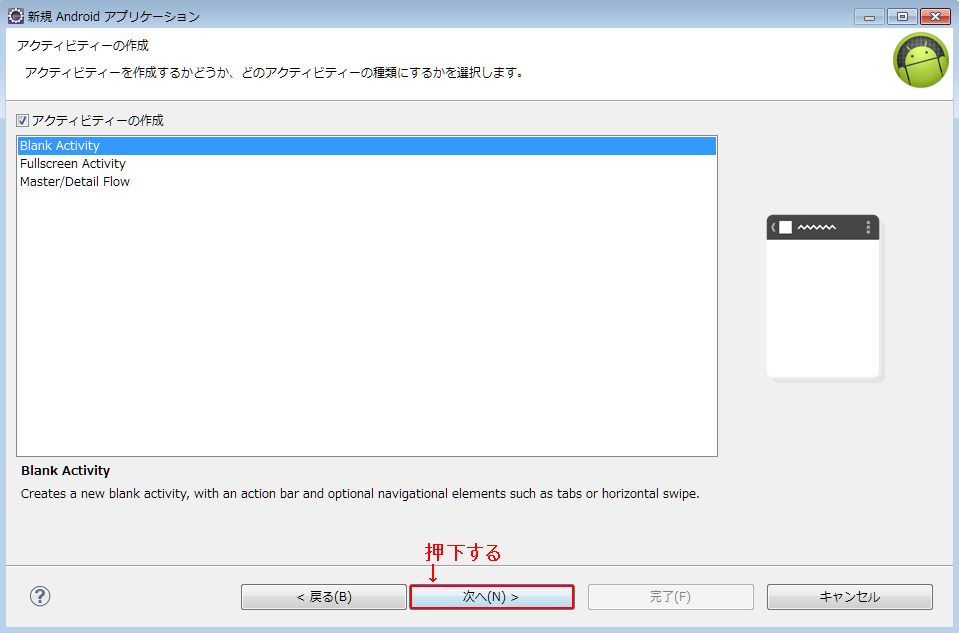
何も変更することなく「次へ」を押下する。

アクティビティ名を「TcpIpActivity」と入力する(任意です)
入力が完了したら、「完了」を押下します。
プロジェクトの作成が完了したら「src」->「com.example.tcpipsample」->「TcpIpActivity.java」の中の
「public class TcpIpActivity extends Activity」を以下のように修正します。
以下のように修正することで、TCP/IP通信が出来るAndroid アプリケーションの作成を行います。
package com.example.tcpipsample;

import java.io.IOException;
import java.io.InputStream;
import java.io.OutputStream;
import java.net.InetSocketAddress;
import java.net.ServerSocket;
import java.net.Socket;
import java.nio.ByteBuffer;

import android.app.Activity;
import android.app.Fragment;
import android.os.Bundle;
import android.os.Handler;
import android.os.Message;
import android.view.LayoutInflater;
import android.view.Menu;
import android.view.MenuItem;
import android.view.View;
import android.view.ViewGroup;
import android.widget.Toast;


public class TcpIpActivity extends Activity implements Runnable {

	private static final int SOCKET_CONNECTING = 1;
	private static final int SOCKET_CONNECTED = 2;
	private static final int SOCKET_CLOSED = 3;
	private static final int MESSAGE = 99;

	volatile Thread runner = null;
	private ServerSocket mServer;
    private Socket mSocket;
    private int port = 9999;

    @Override
	protected void onCreate(Bundle savedInstanceState) {
		super.onCreate(savedInstanceState);
		setContentView(R.layout.activity_tcp_ip);


		if(runner == null){
            runner = new Thread(this);
            runner.start();
        }

		if (savedInstanceState == null) {
			getFragmentManager().beginTransaction()
					.add(R.id.container, new PlaceholderFragment())
					.commit();
		}
	}

	public void run() {

		try {
			mServer = new ServerSocket();
			mServer.bind(new InetSocketAddress(port));
			handler.sendMessage(Message.obtain(handler, SOCKET_CONNECTING));

			mSocket = mServer.accept();
			handler.sendMessage(Message.obtain(handler, SOCKET_CONNECTED));

			InputStream in = mSocket.getInputStream();
			OutputStream out = mSocket.getOutputStream();
			String str = null;

			int recvMsgSize;					// 受信メッセージサイズ
			byte[] receiveBuf = new byte[4];	// 受信バッファ

            while ((recvMsgSize = in.read(receiveBuf)) != -1) {
            	str = new String(receiveBuf, 0, recvMsgSize);
            	handler.sendMessage(Message.obtain(handler, MESSAGE, str));
                out.write(receiveBuf, 0, recvMsgSize);
            }

			out.close();
			in.close();
			mSocket.close();
			mServer.close();

		} catch (IOException e) {
			e.printStackTrace();
			if(mSocket != null){
				try{
					mSocket.close();
				}catch (IOException ex) {
						ex.printStackTrace();
				}
			}
			if(mServer != null)
			{
				try{
					mServer.close();
				}catch (IOException ex) {
						ex.printStackTrace();
				}
			}
		}
		handler.sendMessage(Message.obtain(handler, SOCKET_CLOSED));
	}

	private Handler handler = new Handler(){
    	public void handleMessage(Message msg) {
    		 if (msg.what == SOCKET_CONNECTING) {
    			 // 接続中
    			 Toast.makeText(getApplicationContext(), "ソケット接続待機中.....", Toast.LENGTH_SHORT).show();
    		 }
    		 else if(msg.what == SOCKET_CONNECTED)
    		 {
    			 //接続完了
    			 Toast.makeText(getApplicationContext(), "ソケット接続完了", Toast.LENGTH_SHORT).show();
    		 }
    		 else if(msg.what == SOCKET_CLOSED)
    		 {
    			 //接続終了
    			 Toast.makeText(getApplicationContext(), "ソケット接続終了", Toast.LENGTH_SHORT).show();
    		 }
    		 else if(msg.what == MESSAGE)
    		 {
    			 //受信メッセージを表示
    			 String str = msg.obj.toString().trim();
    			 Toast.makeText(getApplicationContext(), "受信メッセージ: "+ str, Toast.LENGTH_SHORT).show();
    		 }
    	}
    };
	@Override
	public boolean onCreateOptionsMenu(Menu menu) {

		// Inflate the menu; this adds items to the action bar if it is present.
		getMenuInflater().inflate(R.menu.tcp_ip, menu);
		return true;
	}

	@Override
	public boolean onOptionsItemSelected(MenuItem item) {
		// Handle action bar item clicks here. The action bar will
		// automatically handle clicks on the Home/Up button, so long
		// as you specify a parent activity in AndroidManifest.xml.
		int id = item.getItemId();
		if (id == R.id.action_settings) {
			return true;
		}
		return super.onOptionsItemSelected(item);
	}

	/**
	 * A placeholder fragment containing a simple view.
	 */
	public static class PlaceholderFragment extends Fragment {

		public PlaceholderFragment() {
		}

		@Override
		public View onCreateView(LayoutInflater inflater, ViewGroup container,
				Bundle savedInstanceState) {
			View rootView = inflater.inflate(R.layout.fragment_tcp_ip, container, false);
			return rootView;
		}
	}

}
修正は主に、変数の追加、onCreate関数の修正、run関数及びHandlerの追加となっています。
line 24でTcpIpActivityクラスにimplements Runnableしています。
line 26〜34で変数の追加をしています。
line 34でSocketの接続ポートを「9999」固定で指定しています。
line 42〜45のonCreate関数の中で、別スレッドでTCP/IP通信を行うために、別スレッドをスタートしています。
line 54でrun関数を追加し、run関数内で別スレッドの処理内容を記載しています。
line 57でTCP/IP通信を行うためのServer側のSocketを生成しています
line 59でActivity側へ「接続中」のメッセージを送信しています。
line 58でSocketが接続するポートを指定しています。
line 61でaccept関数が実行完了すると、Client側からの接続が完了します。
line 62でActivity側へ「接続完了」のメッセージを送信しています。
line 64でClient側からの値を取得します。
line 71〜75で、Client側からの受信した値の読み込みとClient側への値の送信を行っています。
line 71でreceiveBufに受信した値を入れています。
line 72で取得した値をStringに変換しています。
line 73でActivity側へ「受信した値」をメッセージとして送信しています。
line 74でClient側へ値を送信しています。
line 103〜126で、Handlerを追加しています。ここでは、別スレッドからActivityへ投げられたメッセージ内容から、Toastを使って表示処理をしています。
次にAndroid アプリケーションがTCP/IP通信を行えるようにするために、AndroidManifest.xmlを以下のように修正します。
<?xml version="1.0" encoding="utf-8"?>
<manifest xmlns:android="http://schemas.android.com/apk/res/android"
    package="com.example.tcpipsample"
    android:versionCode="1"
    android:versionName="1.0" >

    <uses-sdk
        android:minSdkVersion="14"
        android:targetSdkVersion="19" />

    <application
        android:allowBackup="true"
        android:icon="@drawable/ic_launcher"
        android:label="@string/app_name"
        android:theme="@style/AppTheme" >
        <activity
            android:name="com.example.tcpipsample.TcpIpActivity"
            android:label="@string/app_name" >
            <intent-filter>
                <action android:name="android.intent.action.MAIN" />

                <category android:name="android.intent.category.LAUNCHER" />
            </intent-filter>
        </activity>
    </application>
    <uses-permission android:name="android.permission.INTERNET"	/>

</manifest>
line 26のように<uses-permission android:name="android.permission.INTERNET">を追加します。
以上で、サーバー側のプログラムの作成は終了です。
お疲れ様でした。